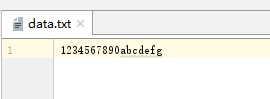
首先通过一个例子来了解Buffer的使用方法:
public class TestByteBuffer {

    public static void main(String[] args) {
        try(FileInputStream in = new FileInputStream("data.txt")) {
            FileChannel channel = in.getChannel();
            // 分配内存缓存区大小
            ByteBuffer buffer = ByteBuffer.allocate(5);

            // 写入内存缓存区
            int i;
            while((i = channel.read(buffer)) != -1) {
                // 变成读模式
                buffer.flip();
                System.out.println(Charset.forName("UTF-8").decode(buffer));

                // 转换成写模式
                buffer.compact();
            }
        } catch (Exception e) {
            e.printStackTrace();
        }
    }
}
输出结果:
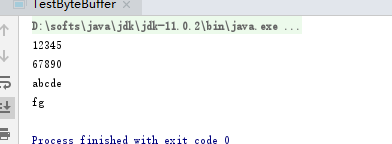
通过上面的例子我们可以看出ByteBuffer的使用步骤如下:
(1)初始化,分配内存ByteBuffer的内存空间,这里分配的方法有如下2种:
- allocate:返回的是HeadByteBuffer,使用的是堆内存,读写效率低,并且会受GC影响
- allocateDirect:返回的是DirectByteBuffer,使用的是直接内存,读写效率高(少一次拷贝),并且不受GC影响;但是分配内存效率低,并且可能会导致内存溢出。
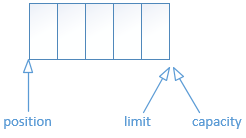
(2)写入数据
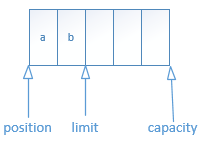
分配完成后,默认就是写入模式,可以直接通过channel的read写入到Buffer中。每写入一个数据时会改变position的位置。
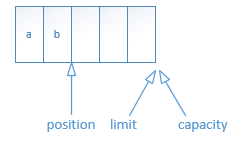
(3)读取数据
当需要从buffer中读数据时,需要通过flip()方法切换到读模式。将limit位置调整到position位置,并将position重置到0开始读取。
(4)读取完成后,切换到写模式继续写入数据。这里切换写模式有2种方式:
- clear():直接清除所有数据,从开始位置重新写入
- compact():将Buffer中没有读取的数据,即position到limit中的数据,放到Buffer的前端后,继续写入
Comments NOTHING